Saturday, December 31, 2011

Strawberry Kiwi Smoothie

I have been on a smoothie kick lately.  Mostly to bring a bit of summertime to this bleak and drab weather we've been having.  Yesterday I made a delicious pineapple smoothie, which tasted like the tropics in a glass.  It was so good I had a couple of them. This morning I wanted to try some different fruit combinations.

Kiwi has become my nickname over the years.  My best friend Meme started calling me Kiwi several years ago.  She thinks it started because my love of kiwi fruit, but I thought it was because I am of Maori descent, and the Kiwi bird is unique to the region of New Zealand.  Either way, the nickname was born. 
 In my haste to taste this delicious concoction I removed the lid of the blender to assess the progress and see if it was ready for me to devour.  Right as I removed the lid, a chunk of ice that had not yet been blended, was quickly sucked down to the blade, and a huge glob of smoothie came flying out of the blender.  It was almost in slow motion.  Have you ever had a bad dream where you're running but not moving anywhere?  This was that dream made a reality.  As the glob hit my face and hair, and colored my then white shirt a now pinkish color, the damage was done.  Not only did I have to change my clothes, I had to make another batch of smoothie.  I felt like the guy in the cranberry Ocean Spray commercials.  Don't be like us.  Leave the lid on. 

This smoothie is very much like the one I made yesterday, except I substituted the pineapple for a handful of sliced strawberries, and kiwi.

Strawberry Kiwi Smoothie

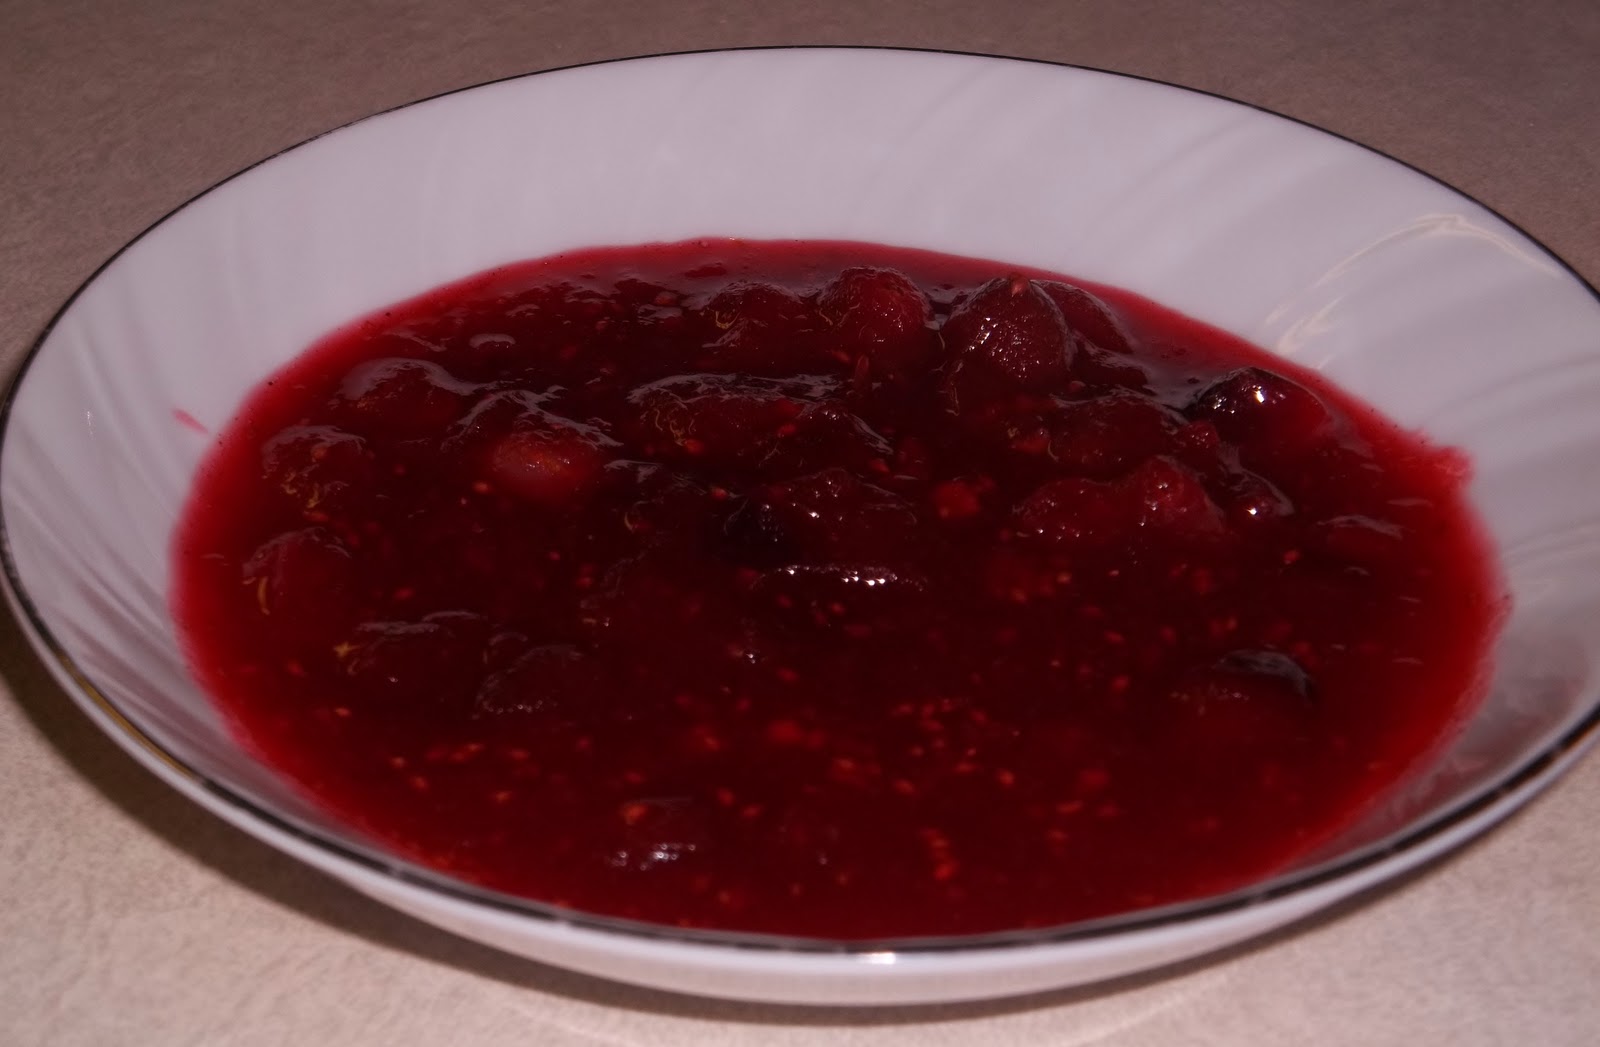
1/2 cup strawberries, sliced
2 kiwi fruits, peeled and sliced
1 banana sliced
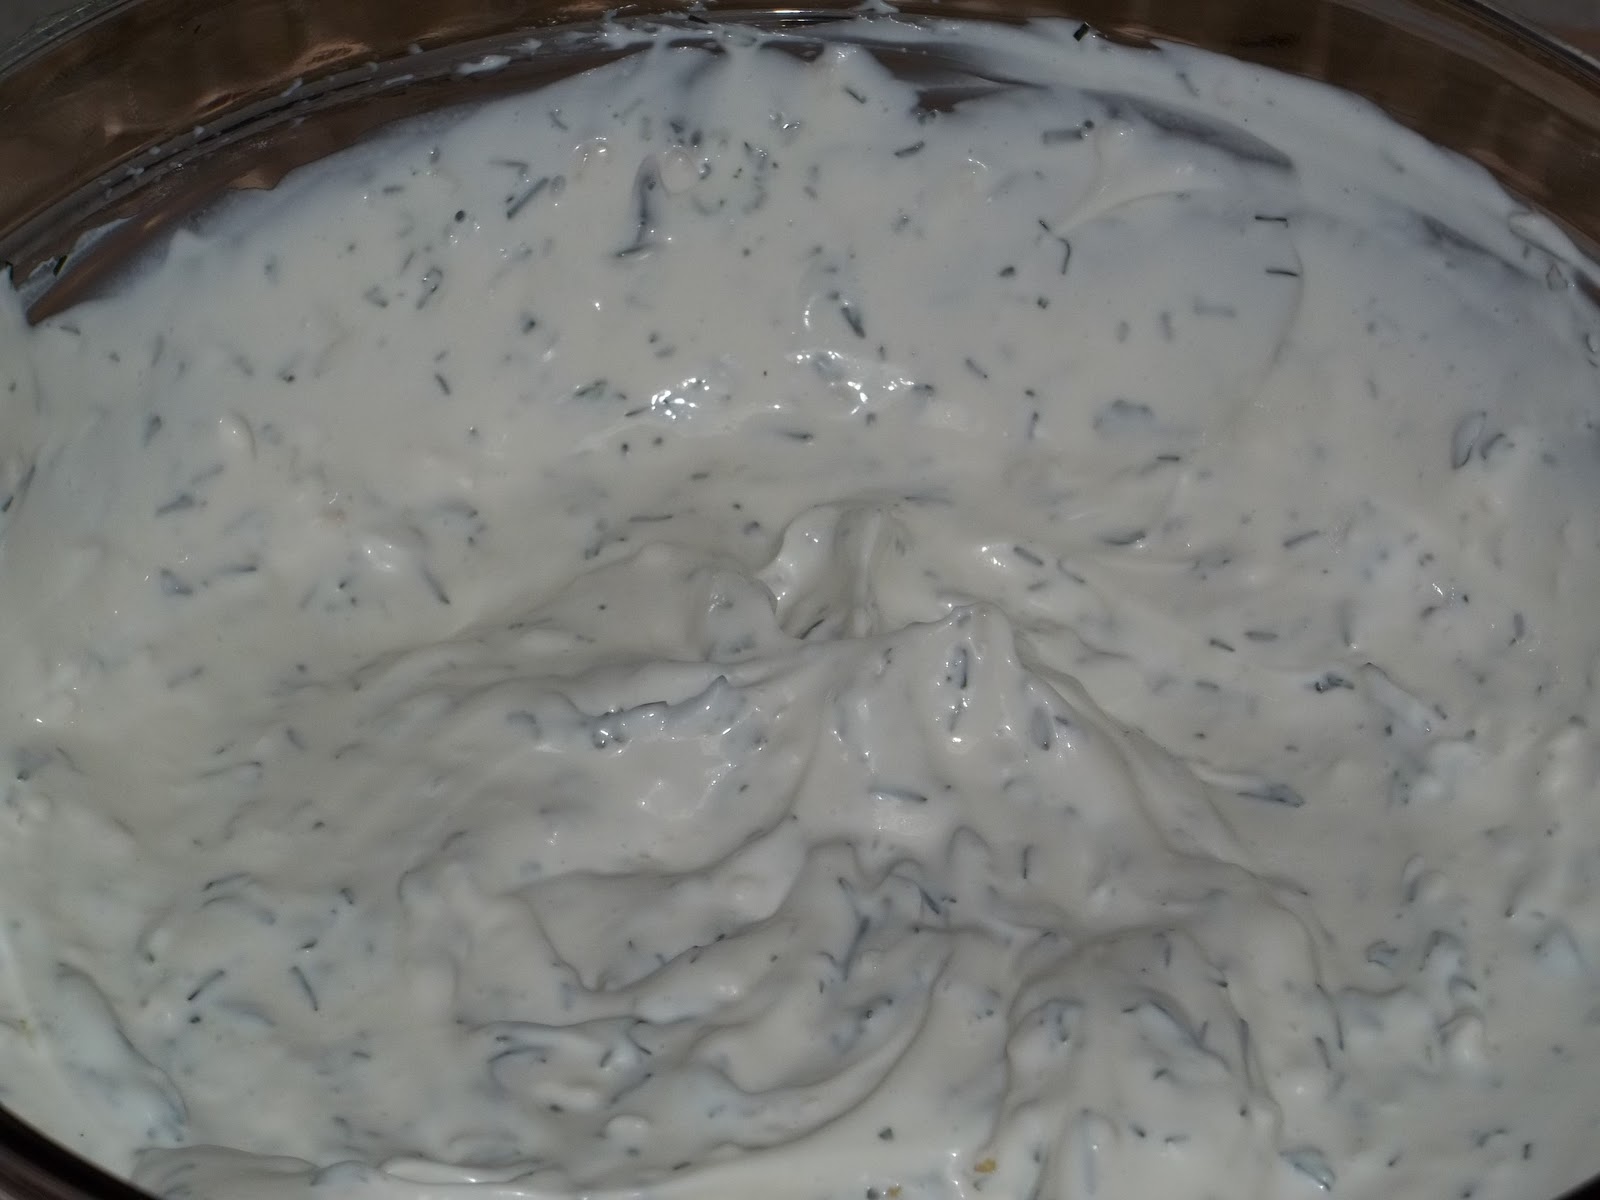
1/4 cup Greek yogurt (or any plain yogurt)
1 or 2 tbs of honey for a hint of sweetness
the juice of 1 or 2 oranges freshly squeezed
handful of ice

Blend together. Pour into glass. Drink and be merry!

Friday, December 30, 2011

A Taste of Summer in December

Is Winter over yet?  Don't get me wrong, I love Christmas, and snowflakes, and the magical atmosphere surrounding this season.  But...I don't know about you, its so hard to get my butt out of bed to a foggy and dark morning, being forced to leave the warmth of my blankets.  

This morning was just like that.  Fog was surrounding our windows, so thick I couldn't even see the border of our balcony.  I grabbed my blanket off the bed, ran to the thermostat to turn the heat on, and then ran back into my room, jumping into bed.  Ugh...

I decided I needed some sunshine.  And since the weather wouldn't cooperate with me, I had to create my own inside.  I painted my nails a bright lemon yellow color, and made a tropical smoothie that tasted like summer in a glass.  I think I will start my mornings like this more often.  After tasting this smoothie, I had so many different fruit combinations and flavors running through my mind that I cannot wait to try.  

This smoothie is super healthy, thick, and delicious.

1 cup pineapple chunks
1 banana, sliced
the juice of 1 or 2 oranges, freshly squeezed
1/4 cup plain Greek yogurt
1 or 2 tbs of honey for a hint of sweetness
Handful of ice cubes, to make the smoothie icy and thick 

Blend all ingredients in a blender, pour into a glass, and enjoy.  Picture sunshine for the full effect :)   

Tuesday, December 27, 2011

A Very Merry Christmas Indeed

Christmas was good to me this year.  Or rather, my family and friends spoiled me, big time.  I received so many wonderful things this year.  My boyfriend got me an amazing new camera, which I'm so grateful for. 

My dear mother made me new aprons that are beyond adorable.


She also made new stockings and a tree skirt for us. 


That woman is talented.  


I got several cookbooks which I am in love with.  


Cupcakes from the Primrose Bakery by Martha Swift and Lisa Thomas is an excellent book for those who want to learn the foundation to making awesome cupcakes.  They have basic chocolate, vanilla, and carrot cupcake recipes.  With the basics for a perfect cupcake base, you can begin to get creative and add different flavorings and toppings.  They provide several variations to their cupcakes, starting with the basic cupcake, and transforming it into something special, and delicious.


The Art of French Baking by Ginette Mathiot is love at first sight.  This book tries to point out that baking goods and desserts in the home should not be regarded as a luxury, but something that is both practical and satisfying.  This book offers easy and straightforward recipes as well as a very nice introduction to the baking essentials.


I'm Dreaming of a Chocolate Christmas by Marcel Desaulniers.  Chocolate in every recipe. Hello.  Need I say more?


The Lavender Cookbook by Sharon Shipley.  I don't know what it is about the appeal of Lavender.  There is something whimsical and romantic about it.  Lavender does not have to be reduced to only seeing a spot in your home by way of candles and lotions.  Lavender is a great flavor to cook with as well.  This book offers a wide range of recipes, from appetizers, to desserts, to seafood, all using lavender.


Can I just say that I have dreams about going to Paris with Ina Garten?  I just love her.  I wish she was my big sister.  I adore her so much, and her cookbook Barefoot in Paris.  The way she writes about her food adventures in Paris and how she has brought recipes home to the states with her is so lovely.  She has some great stories as well as some great recipes.  So funny, so delicious, amen. I love you Ina.


Tartine is a Bakery in San Francisco, California.  The owners of Tartine, Elisabeth M. Prueitt and Chad Robertson have put together a collection of their favorites.  Not only do they make the recipes manageable for the home cook, they have along with their recipes ways to use any left overs.  For example, the recipes that call for pastry cream, they offer little kitchen notes and tips as to how to use the left over cream, such as pouring it over fresh fruit for a light dessert.  I love this book.  Buy it, cook from it, love it. Hallelujah. 
Thank you everyone for being so generous and making my holiday so special.  You do more than I deserve!

Monday, December 26, 2011

Baklava

I know I promised a few posts back to start posting less sweets and more of the savory and more healthy things I make.  But come on...it's still the holidays.  I figured I still had a few days grace period before the new year starts and it's time to get back into the groove of eating more than just Christmas cookies for breakfast, lunch and dinner.


Baklava is something I've always loved.  Seeing it in the stores and bakery cases, it always looks so delicious, golden, gooey, glistening with honey syrup...mmm, good.  It also seemed incredibly complicated to make...with all if its layers.  But my friends, this baklava is very few ingredients, and is as easy as taking store bought filo dough and simply layering the pieces with butter and nuts.  The hardest part about making baklava is waiting for it to cool down long enough for you to put a big piece in your mouth without burning yourself.


It's worth the wait.


For the baklava:
1 box filo dough, thawed
4 cups chopped nuts (whatever kind you like, I used half walnuts and half pecans)
1 tbs cinnamon
1-1/2 to 2 sticks unsalted butter, melted

Combine the nuts and cinnamon in a bowl and set aside. Next open up your filo dough package and take one sheet out and brush it with the melted butter.  Then place sheet on a cookie tray with sides. If you have to scrunch the dough a little bit to make it fit that is ok. But you want the filo sheets to fit comfortably on the tray. And basically you just layer the sheets.  Filo, butter, filo, butter.  After about 6 sheets, sprinkle half of the nuts evenly over the filo.  Then continue on with the filo, butter alternating until you get about 6 more sheets down.  Then sprinkle the rest of the nuts.  Then back to filo, butter, filo, butter, until you have used up the rest of the filo.  Be sure to end with brushing butter on top.  
 Next you need to gently cut the filo into squares or diamonds with a very sharp knife.  After doing so, place the baklava in the oven at 350 degrees for 40-50 minutes, or until the top is golden brown.  Next it's time to spoon over the honey syrup.

Honey Syrup:
1/2 cup water
1/2 cup sugar
1 tbs vanillla
2 cups honey
1 stick butter

Combine all ingredients in a saucepan.  Bring to a boil and reduce the heat to low. Make sure everything is well combine.  Cook for a minute or two then remove from the heat.  Then spoon half of the mixture all over the cooked baklava.  Give it a minute or two to let the syrup soak into the baklava.  Then drizzle the rest of the syrup over the top.  Let the baklava sit out at room temperature to dry slightly and become perfectly sticky.  But I suggest taking a big piece for yourself as soon as you finish it off with the syrup.  You worked hard on this dish, afterall.

Saturday, December 24, 2011

Easy Holiday Appetizer

Christmas time is all about tradition.  For me, Christmas eve consists of sparking apple cider, the Nutcracker ballet, and my mom's version of shrimp cocktail.  
 That is the perfect bite right there. Mmm...


Every Christmas eve, as soon as it is dark outside, that is the perfect time to pop the bottle of that chilled sparking cider open, and find your favorite spot on the couch to enjoy one of the most beautifully written ballets of all times.  I absolutely love Tchaikovsky.  The Nutcracker is a true masterpiece.

This shrimp cocktail is so easy and yet so delish.  The tiny tweak I've made to my mom's easy recipe is making my own cocktail sauce, but please if you are strapped for time, buy a good organic cocktail sauce from a jar.  

You will need:
8 ounces cream cheese, softened
about 2 cups of cocktail sauce (jarred or home-made)
1 pound cooked shrimp
 Ritz crackers, or any kind you like

Note on the shrimp: I get my shrimp at the Whole Foods seafood counter.  It is pre-cooked, peeled and deveined.  How easy is that?  It is 31/40 which means there is about 31-40 shrimp per pound. They are a pretty good bite-sized piece. I cut mine in half just to stretch my dollar. Get whatever kind of shrimp you like, as long as it's fresh and it looks good enough to eat! Just be sure to rinse the shrimp with water before you add it to the rest of the dish.


For home-made cocktail sauce:
juice of 1 lemon
1 cup Heinz chili sauce
1 cup ketchup
4-5 tbs prepared horseradish (more or less depending on how you like it)
1 tsp Worcestershire sauce
salt and pepper


Combine all ingredients together.  Place the softened cream cheese on a platter, pour over the cocktail sauce, then scatter the shrimp around the plate.  Serve with Ritz crackers. So easy! And so good.
I should have taken a picture before we dug into this but what can I say...it's good man.

Sunday, December 18, 2011

Fruit Bouquet

People often ask me if I make anything other than sweets.  I realize the majority of my posts usually consist of some baked goodies or confectionery treat.  But obviously I don't live off of them.  I find my passion is in baking and making sweets because dessert is my favorite meal of the day.  And I find that people never remember what you made for dinner, but they will always remember what you made for dessert.  I love making people smile through these desserts.  But as a personal goal for myself and for my blog, I am going to post more of the savory things I make. 
 Tonight was my work Christmas dinner at an Indian Restaurant called Saffron.  I usually take snacks into the office that consist of sugar and butter.  But considering my supervisor is a nutritionist, the girls and I decided it'd be best to do something a little on the light and healthy side.  We were looking into purchasing an edible arrangement online but hello...who has $120 to spend on fruit?  Not us!  I decided to take on the challenge of making it myself.  And I was able to do it for about $40 total, including the box I arranged it in.

What I used:

2 quarts strawberries
1 pint blackberries
2 bags of red grapes
2 bags of green grapes
1 pineapple
1 honeydew 


small box
skewers
Styrofoam square the size of the box

Wash the fruit and pick through it once.  Get rid of any berry or piece that is mushy or starting to get too ripe.  The fruit should be firm enough to stick the skewers through.  There was really no rhyme or reason to how I arranged things.  On long wooden kebob skewers I did grapes, alternating red and green, or combined blackberries with a pineapple star on top.  The Christmas tree in the center was honeydew.  How I made the stars and tree was using a cookie cutter that i placed on top of the fruit, and then cut around it.  Don't just push the cookie cutter through the fruit slice, it'll push all the juice out of it and make a big mess.


This was really quite fun to do, and I honestly think practice will make perfect.  I hope I can make another one soon for someone else.  The best part was, after we presented it to our supervisor, we all sat around the table and ate it.  Delicious (and healthy) way to end our meal.

Monday, December 12, 2011

Walking in the Air Cakes

One of my favorite Christmas movies as a child was The Snowman.  I remember watching it during the holiday season, on an old VHS tape on an even older VCR.  The music, the story...it was magical for me.  I love Christmas very much.  Mostly because I have very fond memories of this special time of year with my dear family.  My mother's goodies, our poorly trimmed tree however decorated with love.  My dad dressing up as Santa (yes dad, I know it was you).  The rainbow colored lights outlining our house.  I remember falling asleep while watching them twinkle outside of my bedroom window.  Red and Green.  Waking up the next morning to a fresh coat of snow.  Dazzling snowflakes that sparkled like a glittery blanket.  Glorious glorious memories.  
 This is my recreation of The Snowman and that glittery snow.


Being 2,000 miles away from my family is hard.  But during Christmas, it's almost unbearable.  This week is my last few days between me and Christmas freedom.  Two finals left to go and I am nearly counting the seconds.  As soon as the clock strikes 6 p.m. tomorrow I will be racing home to rummage through my closet, and pull out my two old shoe boxes full of my childhood ornaments.  Picking the special few that will decorate my little Charlie-Brown-like Christmas Tree.  Ahh, the holidays. There is nothing quite like it.
For the Cupcakes:
1 box of vanilla cupcake mix
1 can vanilla frosting


Make cupcakes as per the box directions.  Allow to cool before applying a generous layer of frosting to each cake.


To Assemble the Snowman you will need:
Oreos
Mini oreos
Pretzel sticks
red hots
black gel icing
red fruit roll ups
coconut
sparkling sugar
marshmallows
toothpics


Combine coconut and sparking sugar in a shallow bowl.  After frosting the cupcakes roll them in the sugar/coconut mixture.  

Then stick one marshmallow with a toothpick and attach to cupcake.  Then stick another marshmallow with toothpick and attach to other marshmallow.  

Stick two pretzel sticks in between the marshmallows as the arms on the snowman.  I used a little frosting to help them stick.  

Next take an Oreo.  One cookie will be enough for 2 snowmen.  Separate the cookie then with some frosting attach Oreo to top marshmallow.  Then with more frosting attach the mini Oreo to the top of the Oreo half. 

Next, cut a strip of the fruit roll up and wrap around to make the scarf.  

Next, using a red hot candy as the nose, spread a little frosting on one side then stick to face of the top marshmallow.  

Then with a gel icing make eyes and buttons.  

And TA-DA!!! The Snowman :)

Friday, December 9, 2011

Holiday Crepes

I recently went grocery shopping, and as I was unloading everything and putting it in its place I noticed that towards the back of the fridge was the cranberry marmalade I made for Thanksgiving.  I really hate food going to waste so I was thinking of ways to re-purpose the sauce.  So I decided to fill crepes with it and they turned out deliciously.  
 I have never made crepes before but have always loved them.  And they were surprisingly not hard to do!  I took step-by-step pictures of the process in case any of you out there have been afraid to tackle the crepe-making yourself.  And there is no need for a special crepe appliance.  A small saute pan does the job just fine.  Even though I stuffed my crepes with a cranberry marmalade you don't have to make them sweet. I've had crepes with sausage and cheese, or tomatoes, mozzarella and a balsamic glaze.  Get creative :) A crepe is the perfect backdrop for any flavors, savory or sweet. Enjoy.

For the Cranberry Marmalade click HERE.

Crepes:
3 eggs
1-3/4 cup milk
1 cup flour
2 tbs sugar
1/2 tsp salt


Combine all of the ingredients well.  The batter should be really thin.  Then heat up your saute pan, I did mine over a fairly low heat, in order to cook the crepes gently.  Being my first time and all.  
Melt some butter in the pan.
 Pour in one ladle full of batter.
 Swirl the batter until it coats the bottom of the pan.
 Cook crepe until it starts to brown on the bottom.
Flip it.
 Fill it.
 Fold it.

 Eat it.
 :)

Thursday, December 8, 2011

Let's Have Snowballs All Year Round

Christmas is that time of year where you get to indulge in those really special holiday treats.  I remember growing up my mom always made the best candy, fudge, cookies and bars during Christmas.  By the time New Year’s rolled around, I felt like I gorged on sweets because I wouldn’t have them for another year. 

But I got to thinking…why do we have to wait a WHOLE year to enjoy those goodies that we love so much?  So last year, I literally had a never ending supply of these little tea cakes.  When I got down to 1 or 2 left I would make another batch.  These snowballs aren’t too sweet, and they are very cheap and quick to make.  And when you are living on a graduate student budget, nothing is more delicious then cheap and quick.
 Snowballs:
2-¼ cup AP Flour
½ cup powdered sugar (plus more for rolling tea cakes in)
¾ cup nuts (I like walnuts or pecans for these)
¼ tsp salt
1 tsp vanilla
1 cup unsalted butter

So for the butter I feel like room temperature butter isn’t soft enough, but melted butter makes the dough too soupy, so I “lightly” melt the butter.  Melt both sticks of room temperature butter together in the microwave, in 15 second intervals, for no longer than 1 minute.  Not all of it should be completely melted.  Stir the butter.  The heat from what has melted already should make the rest of the butter soft enough to mix together. And there you go, lightly melted butter…Okay…onward with the cakes.

To the butter add the powdered sugar, salt, vanilla, and nuts.  Stir to combine, and then add sifted flour.  Mix until dough comes together.  It will be soft.  I use a small ice cream scoop to scoop out the dough into 2-inch balls, and place on a cookie sheet.  You can place them close together because they won’t spread.  While the oven is pre-heating I stick the tray in the fridge just to let the cakes firm up a little bit before baking.  Bake at 400 degrees for 10-12 minutes until the cookies are golden brown around the bottom edges. 

Let the cookies cool at room temperature for 20-30 minutes.  They should be slightly warm still.  Roll them in powdered sugar, let them dry for another 20-30 minutes, and then roll them again in powdered sugar.  Mmm snowballs.  
 And now with this recipe, you no longer have to wait until winter for snowballs. :)

Wednesday, November 23, 2011

Happy Thanksgiving--Menu

Thanksgiving is tomorrow and I have been preparing for it all week.  This year it's just me, my boyfriend, and my best friend Meme who flew all the way from Oregon just to spend time with me and have a Chicago Thanksgiving.  I am so looking forward to cooking for two of the most special people in my life.

Aside from the turkey, I have mostly everything either made, and/or assembled so come tomorrow all I need to do is warm everything up and cook the turkey.  Here's what I'm making.

Appetizers:

Smokey Cheese Dip (recipe below)
Easy Creamy Dill Dip (recipe below)
Spinach Dip
Deviled Eggs

Main Course:

Turkey
Mashed potatoes and gravy
Stuffing
Grandma's Corn Pudding (recipe below)
Buttered Hot Rolls
Starting left and going clockwise: cranberry marmalade, turkey, mashed potatoes and gravy, stuffing, corn pudding

Dessert:

Pumpkin Cheesecake (recipe below)

Last year was my first time making an entire Thanksgiving feast on my own.  I however did not make a turkey...since it was just Meme and I,  I opted for a small ham instead.  But this year, I am tackling the big bird! With the help of my mom, via phone support, I am confident it will turn out yummy as ever.  Happy Thanksgiving everyone!

Smokey Cheese Dip
8 ounces cream cheese
1 cup mayo
1 jar old english kraft cheese
1 small onion, diced fine
1 stock celery, diced fine
2 medium packages of cracker barrel sharp cheddar cheese, grated
1/4 tsp liquid smoke
1/2 tsp garlic powder
1/2 tsp worchestershire sauce
dash salt and pepper
Combine all ingredients and allow it to set in the fridge.  If you want to, you can roll portions of the dip into a ball and then into a variety of nuts to make this cheese dip into a cheese ball.  Serve with crackers and veggies.

Creamy Dill Dip
1 cup mayo
1 cup sour cream
1 tbs parsley
1 tbs minced onion
2-3 tbs fresh dill, start with 2 and taste. You can always add more.
 This is what fresh dill looks like.

Note: if you want to use dried dill, I'd suggest 1-2 teaspoons.

Combine all ingredients until mixed and smooth.  Serve with whatever you'd like! I'm doing a veggie tray.

Grandma's Corn Pudding
1 stick butter

1 cup chopped onion
1 can mexicorn, drained
1 can cream style corn
3 eggs beaten
1 cup sour cream
1 box Jiffy corn muffin mix
1 cup shredded cheddar cheese


Saute onions in butter until tender.  Add corn, eggs, sour cream.  Stir in muffin mix and pour into buttered casserole dish.  Sprinkle cheese on top.  Bake uncovered for 40-45 minutes at 350 degrees.


Pumpkin Cheesecake


Crust:
2 packages graham crackers
1 stick melted butter


In a food processor crumble the crackers until they are small crumbs then slowly add the melted butter until combined.  Press into the bottom of a pie dish and back at 350 for 7-10 minutes until golden.


Filling:
2 sticks cream cheese, softened
1-1/2 cups sugar
1-26 ounce can pumpkin puree
3 eggs
1/4 tsp ginger
1/4 tsp cloves
1/2 tsp nutmeg
1 tsp cinnamon
1 tsp vanilla
Cream the cheese, sugar and pumpkin puree together.  With the mixer running add eggs one at a time.  Once eggs are combined add spices.  Pour filling into bottom of crust and bake at 350 degrees for 1 hour, or until middle is set (and still slightly jiggly).  Place in fridge until chill and filling has set.

Tuesday, November 22, 2011

Easy Home-made Cranberry Marmalade

Thanksgiving is just a few days away and I've been preparing since last week.  My menu is made and all of my groceries have been purchased.  Since I'm sure many of you are also doing some last minute menu ideas I am going to start posting some of the things that I'm making ahead for the Big Day!

Growing up I became very accustomed to the holiday cranberry sauce that comes in a can, that you have to shake to get out.  It plops out onto the plate and has the ribs from the can going all across it.  We would simply slice it and there you go, cranberry crap in a can.
This year was my first time making a home-made cranberry sauce and let me tell you, it is sinfully easy to make, but the flavors are awesome.  The cranberry sauce is tart, sweet, and the spices give it a subtle warmth.  There are hundreds of recipes out there for home-made cranberry sauce but they all seemed weird, at least to me.  Adding nuts and what not.  I don't want an exotic cranberry sauce.  Plain and simple will do just fine.

While making this I was so intrigued by the berries.  Watching them percolate in the pot I started to hear a noise.  "Until the berries burst".  What was I to look for? They SOUNDED like they were popping but I couldn't see anything.  I felt myself get kind of excited.  Were they going to pop out of the pot?  Suddenly the first berry burst! Then another, and another.  The rest quickly followed.  The pot became a gorgeous deep red color.  Stirring in the zest and spices, it becomes so fragrant and delicious.  Glorious cranberry goodness. mmm....

4 cups fresh cranberries (1 bag)
1 cup freshly squeezed orange juice
1 cup sugar
zest of 1 orange
1/4 tsp nutmeg
1/2 tsp cinnamon
In a saucepan add the cranberries, juice and sugar.
 Bring to a boil, then reduce to a simmer for 10 minutes until the berries have burst and mixture becomes thick.
 Once thick turn off the heat and add the zest and spices.
 Serve warm.

Monday, November 14, 2011

French Apple Tart

My house smells like burnt sugar.  Very, very bad smell.  However, as per usual, what I was making turned out flawlessly.  But as for my baking sheets well...not so much.  You all know I'm no stranger to burning things.  My poor boyfriend. "STOP BURNING SHIT!" he yells from atop a dining room chair, waving a dish towel back and forth under the smoke detector.  God love him.
I've been very inspired by French cuisine lately.  I find the language to be absolutely captivating and lovely.  I'm so interested in learning the language, if not for any other reason than to pronounce the recipes in the various French cookbooks.

Tonight I made a French Apple Tart.  Classic French food doesn't necessarily mean difficult.  This tart is of few ingredients, but it in no way lacks in flavor.  The buttery, rich crust, the tart and slightly softened apples, the crusted sugar...Oh where have you been all my life.
For the crust:
2 cups flour
1 tbs sugar
1/2 tsp salt
12 tbs cold unsalted butter, diced
1/2 cup ice cold water

In a food processor, combine the flour, sugar and salt.  Pulse 2-3 times just to combine.  Add in the butter and pulse 10-12 times, or until the butter has broken down into small pea sized pieces.  Then with the mixer running on low, slowly drizzle in the ice water, mixing just until the dough comes together.  Then working quickly, dump the dough out onto a floured board, form into a disk, wrap in plastic and chill for 1 hour.

The reason for leaving the butter in little pieces throughout the dough, is that so when the heat from the oven hits the butter in the dough, it will cause steam, making the crust moist and flaky and delicious.

For the topping:
3-4 granny smith apples
1/2 cup sugar
4 tbs cold unsalted butter, diced

Peel and slice the apples into about 1/4 inch slices.  Place apple slices around the top of the dough.  However you want to design them really.  Next, sprinkle the sugar over the apple slices then dot the top with the cold diced butter.  Bake at 400 degrees for about 45 minutes.  

Once tart comes out of the oven let it cool on a rack.  Then in a small pot, combine about 1/2 cup of fruit preserves, apricot would be nice but I used peach preserves because that is what I had on hand, with the juice of a small lemon.  Warm until the preserves melt slightly then brush over the top of the apple tart.  

I'm sorry to say but this was worth the smoke alarm.
 Dessert a la francaise!
Magnifique!

Cheesy Broccoli Ham Braid

 My posts typically consist of something sweet.  I'm sure it's hard to imagine I make anything other than waist-expanding, sugary treats.  But...I do! (pause for gasps)

I try to make dinner for my honey every night, and after a long day of classes and work, sometimes it's easier said than done.  I've become particularly fond of my crock-pot.  Making things like my mama's Beef Stew, or Turkey Ropa Vieja.

Tonight I was having a particular craving for something cheesy, and breaded.  I mean hello...melty-gooey cheese and carbs?  Nothing much better in the world than that.  I am not really sure what to call this, so lets call it the Cheesy Broccoli Ham Braid.

Ingredients:
1 bunch broccoli
8 ounces swiss cheese, grated
15 slices deli ham, diced
1/2 cup mayonaise
2 tsp dijon mustard
2 tsp whole grain mustard
salt and pepper to taste
2 packages store bought crescent rolls (dough)

Start by blanching the broccoli.  Cut the broccoli florets into bite size pieces then toss into a pot of boiling water, and cook for one minute.  After a minute, drain the broccoli and place into a bowl of ice water.  The quick dip in the boiling water is the blanch.  Then the dip in the ice water is called shocking.  It stops the cooking process and keeps the bright green color of the broccoli.

Next, combine mayo and mustards, then toss in the cheese, ham, broccoli and salt and pepper.  Taste it after this point and if you think you need a little more salt or pepper then go ahead and adjust the seasonings.

Next, on a large baking sheet un-roll 2 packages of crescent rolls.  Place the mixture down the center of the rolls.  Then tear strips along the border of the dough and "braid" the dough over the top of the mixture.  Bake at 375 degrees for 15ish minutes, or until golden brown and the cheese is ooey-gooey-melty-goodness.