Friday, September 7, 2012

Creamy Corn and Bacon Risotto

I am by no means a professional cook.  I'm just an ordinary girl who grew to love cooking at a very young age, thanks to a grandmother with the loveliest hands you've ever seen make something, and my mother who has fed me practically my whole life.

Sometimes I make up recipes to share on here.  Sometimes I tweak a recipe of another that I've seen or heard of, and make it my own.  And sometimes I take the recipe of a fellow cook and try to recreate it.  You see fancy food blogs and professional looking pictures all the time.  But can a regular person, like me, make the recipe look like the photo?

I have to tell you, often times the answer is no.  People have high tech cameras, and that program to edit photos...I'm blanking on the name....ahhh!  I hate that.  Anyways, they have ways to make food look amazingly bright and beautiful. But have you ever taken that same recipe and made it at home, just to find it looks nothing like the picture?  It happens to me all-of-the-time more often than I'd like to admit.

Photoshop! Ahh hah! That's the name. I knew it'd come to me if I forgot about it for a second.  Anyways..

I promise you guys what I make here is not fancied up nor are they recipes that are impossible for just the average cook to make.  I am a regular person. I am you!  Just a girl who likes to cook, on a graduate student budget, in a tiny apartment kitchen that has barely enough counter space for a cutting board.  Yes, that is me.
Where was I going with this story?

Oh yes, Risotto.  

Today was my first time ever making risotto.  It's always seemed like a very daunting thing to make.  And different recipes have very specific directions, such as cook for exactly 18 minutes! Well I have to tell you this wasn't ready after 18 minutes.  I did not have a recipe for this, all I had was a general idea as to how to make basic rice.  

This was no more challenging than making a box of rice-a-roni and come on...I know we've all made that at least once.  Again this is my own version.  No fancy ingredients here. Who really wants to pay $8 for a little container of mascarpone cheese anyways?  I didn't think so...

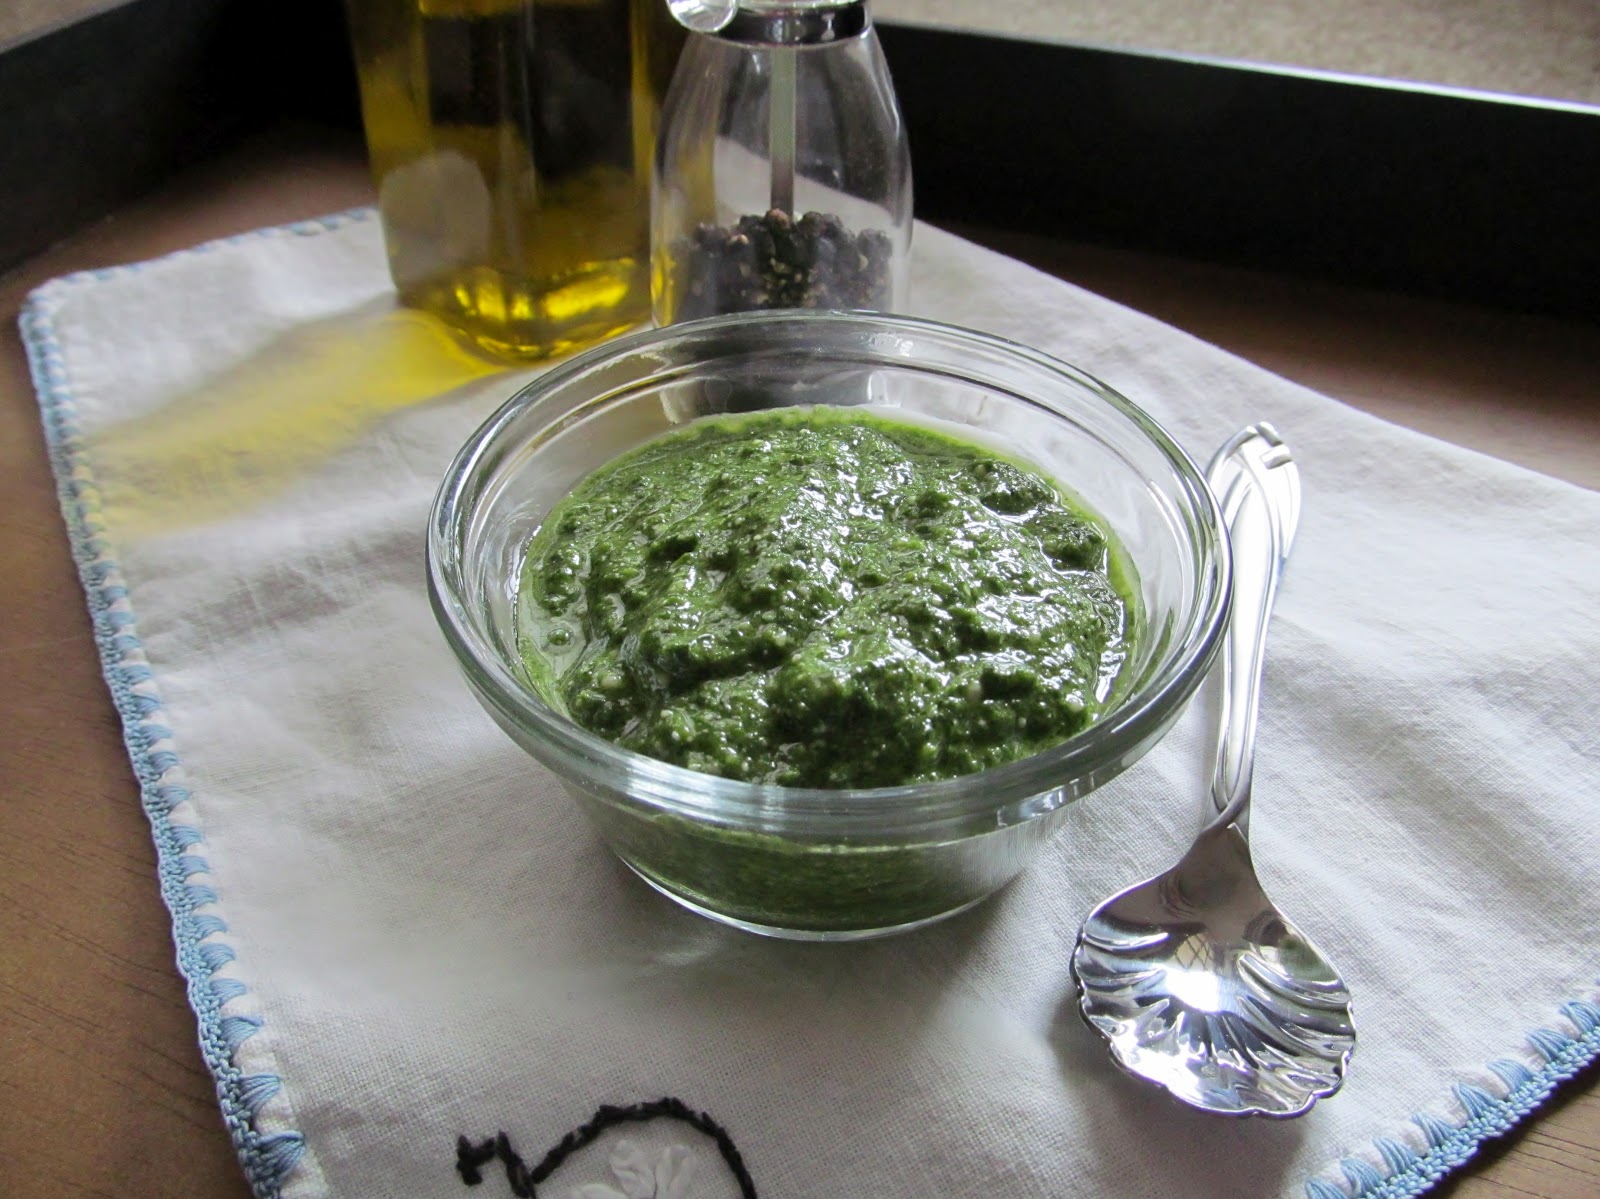
Creamy Corn and Bacon Risotto (Serves 2)

3/4 cup arborio rice
4 cups chicken stock
4 slices bacon, cut into small pieces
1/2 stick unsalted butter
2 ounces cream cheese
1/3 cup Parmesan cheese, grated
1 ear of fresh sweet corn, kernels cut off
Pepper

In a large pot set over medium to medium high heat, cook the bacon until the fat has rendered and the bacon is crispy.  Remove bacon with a slotted spoon and discard of most of the fat, reserving at least 1 Tbs. of grease in the pan.  Add the butter and let it melt, then add the rice.  Cook the rice in the fat for a couple minutes just to toast it up a little.  Season with a couple turns of your pepper mill.  (I did not add any salt whatsoever.  For my taste there was enough salt from the bacon and the stock.)

Meanwhile, have a smaller pan set over low heat, keeping the chicken stock warm.  Once the rice has toasted for a couple minutes, add in a ladle full of stock.  This risotto requires constant stirring.  I know it's annoying to stand and stir for 20 minutes straight but at least this risotto is a sufficient meal, along side a salad, so you don't have to make anything else.

Once some of the liquid has absorbed, add in 2 more ladles full of stock.  And you're just going to keep repeating this process until all of the stock is used up.  Add stock, stir stir stir, when most of it's absorbed then add more stock, stir stir stir, wash rise and repeat. The whole process should take about 20 or so minutes.  This could vary, so just eye ball it.

Once you get down to about 2 ladles of stock remaining, that is when you'll add the rest of the ingredients.  Add in the remaining stock, the cream cheese, corn and Parmesan cheese.  Stir everything together until it is melted and delicious.  When you taste the rice it should be "al dente", meaning it's tender but still has some bite left to it.  Sprinkle in half of the reserved bacon and then plate the risotto in a shallow bowl or on a plate along side a fresh salad.  Top with more bacon pieces and more Parmesan cheese.  Serve and eat immediately.
Not bad for us regular folks, eh?

Wednesday, September 5, 2012

Light Lemon and Spinach Pesto (Nut Free)

I am so thankful that I do not have food allergies.  I used to babysit this little girl who was allergic to nuts.  It did not matter what kind.  If she got near anything with nuts, it was an immediate trip to the hospital.  Unbeknownst to me I had made peanut butter cookies for the family. It was close to Halloween and I was heading over to babysit for a night. I wanted to do something nice so I took them cookies...cut to me never babysitting for them again.
I've known several people with allergies to dairy.  I even knew a girl who was allergic to chocolate.  Okay, maybe she wasn't allergic to chocolate, but she didn't like it.  How can anyone not like chocolate? She must have been allergic...yep lets go with that.
I really love pesto.  It is good slathered over chicken, fish or any kind of meat, drizzled over eggs or bread, mixed with some mayo to spread on a panini, tossed with pasta, you name it.  I'm pretty sure you could top it on almost anything and it'd be delicious.  Maybe not like, you know, ice cream, but hey someone out there might like that.

This pesto is nut free, for any of you out there that have allergies. Of course, if you wanted nuts in this, you could easily add any kind you'd like. The traditional nut being pine nuts, but I've made pesto with pistachios, walnuts, etc.  Also, pesto is a great way to use up any greens you have that are about to go bad.  For example, my spinach was about to rot, so I made pesto!  You can make pesto with herbs, leafy greens like spinach, arugula, kale...the combinations are honestly endless.  Find one to make that has all of the flavors you like.

Light Lemon and Spinach Pesto

2 cups spinach
2 tsp. lemon juice
1/2 tsp. lemon zest
1/4 cup olive oil
1/4 cup Parmesan cheese
salt and pepper

In a food processor, add the spinach, lemon juice and zest.  Pulse a few times until the spinach has broken down.  Then with the mixer running, slowly drizzle in the olive oil until combined.  Add salt, pepper and Parmesan cheese.  Give the processor another whirl then taste.  Adjust seasonings if needed.  Use immediate or store in an air tight container in the fridge for up to 3 days.
 I think I'll go make some chicken paninis with this pesto for my lunch.  

Tuesday, September 4, 2012

Homemade Peppermint Patties

I'm not usually a big fan of mint and chocolate together.  I've never liked peppermint patties before.  The mint was always too strong for me.  Reminiscent of toothpaste or some type of strange oil my grandmother used to have in her bathroom.
I've also never liked mint chocolate chip ice cream.  I can tolerate an Andes Mint now and then but that is about it.
 That is until now anyways.  Making your own candy always seems like such a daunting task.  When in half the time I could put some shoes on and run down the street to the little convenience store and buy a handful for a couple dollars.  I come to surprise myself often how much easier it is to make than I allowed myself to believe.  Not only that, how much more DELICIOUS it tastes than the store bought.
These homemade peppermint patties were just right for me.  The mint inside was delicate and just barely tickles your tongue.  It's enough to taste but not enough to feel like you need to gurgle and floss afterwards.  Eww toothpaste candy. I promise this is NOT that!

Homemade Peppermint Patties

2 cups powdered sugar, sifted
1-1/2 Tbs. unsalted butter, room temperature
1/4 tsp. vanilla
1/4 tsp. peppermint extract
2 tsp. half and half

In a mixer fitted with a paddle attachment, mix all ingredients above until combined and smooth.  Chill in fridge for an hour.  After an hour has passed, using a 1/2 Tbs. measure, scoop out balls of the peppermint dough and roll in between your hands.  Flatten slightly by pressing down with your fingers.  Set on a cookie tray lined with aluminum foil.  Once you've used all of the mixture, return to the fridge for another hour.  Meanwhile make the chocolate dip.

Chocolate Dip

1 cup milk chocolate chips
1 Tbs. unsalted butter
1 Tbs. half and half

Over a double boiler (a pot of boiling water with a glass bowl on top) melt the chocolate dip ingredients.  Once fully melted, remove from the heat.  Retrieve the peppermint patties out of the fridge.  Place them one at a time into the chocolate mixture, making sure to coat all sides.  Use a fork to get the patties out of the chocolate and put back onto the tray.  Once you've dipped all of the patties return the tray to the fridge so the chocolate can harden.  Once the chocolate is hardened, store the patties in the fridge in an airtight container.
 I give this recipe the chocolate thumb print of approval.